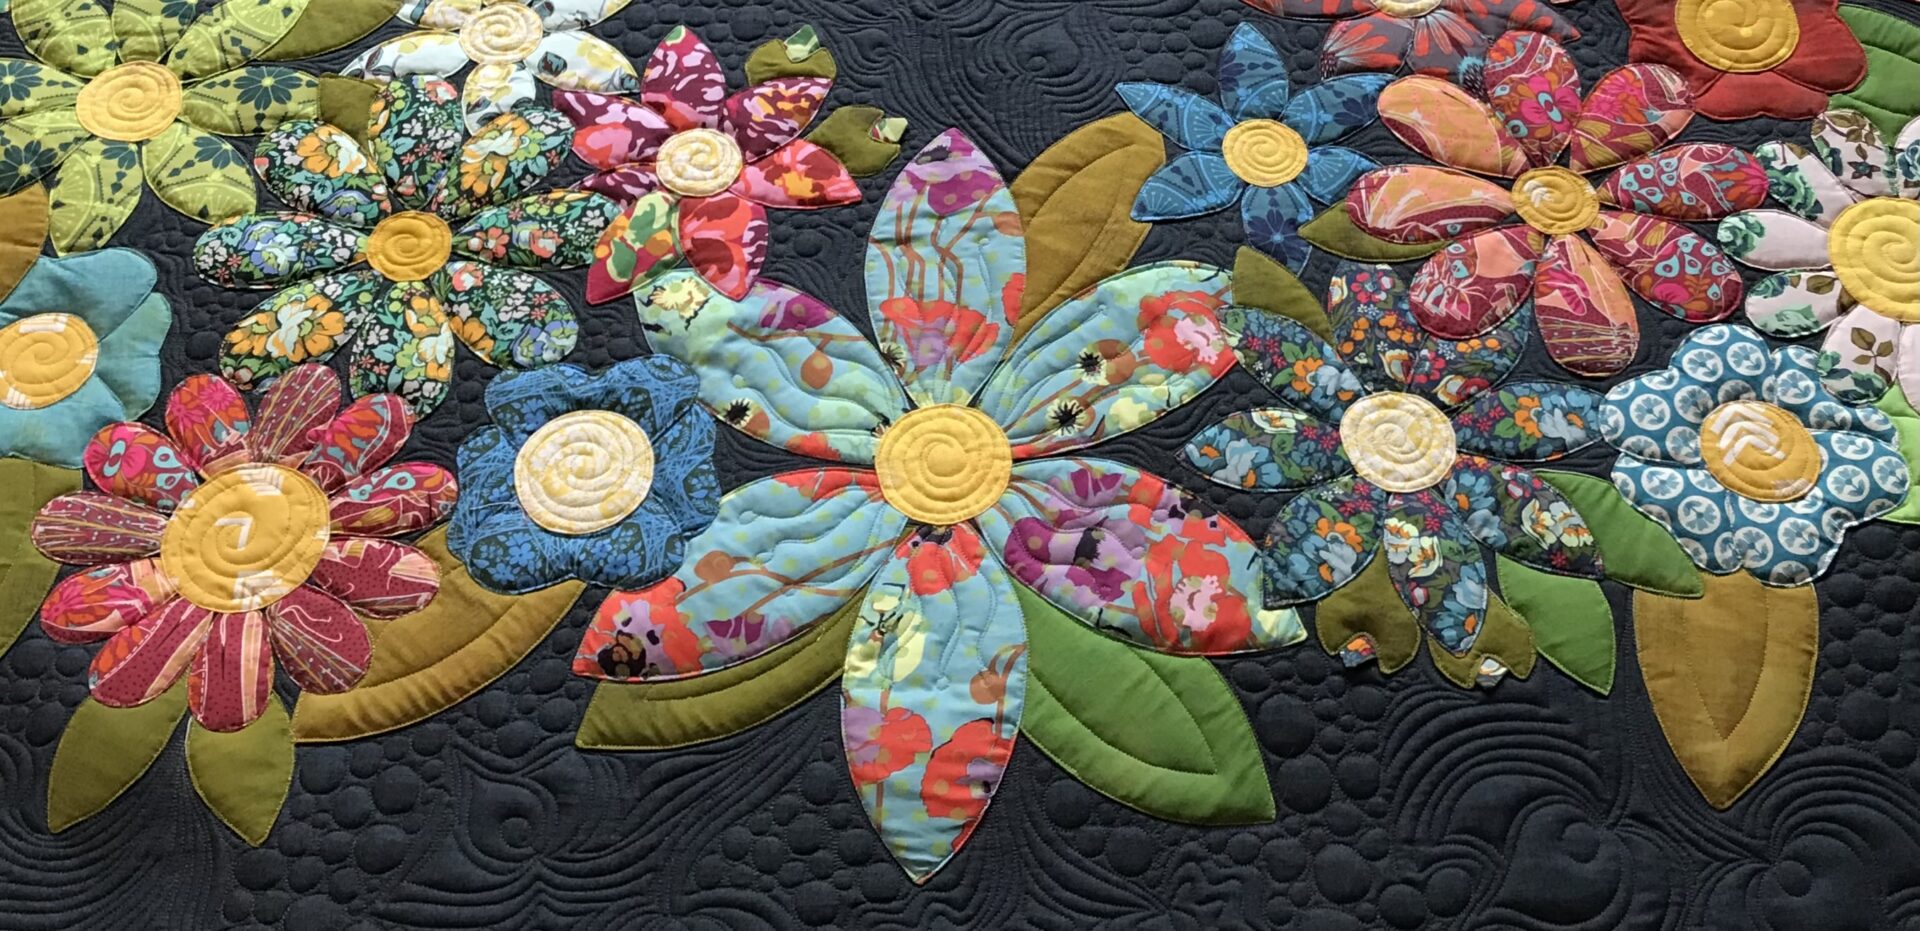
FAUX APPLIQUE (INTERFACING METHOD OF APPLIQUE)
I have a YouTube video outlining this method of appliqué you can view by clinking this link.
https://www.youtube.com/channel/UC_VbisrfKCNKOc6TV99e6EA
This method of appliqué is one of my favourites for a couple of reasons.
The first one is because it is so easy and gives such a great result.
The second reason is because it gives definition to the applique piece. By quilting around the applique it allows the piece to puff up off the background fabric.
The third reason is probably the most important, when you iron your appliqué piece into position and decide you need to re-adjust the piece, you can just iron over the applique piece again and gently peel it off the background and re-position.
- All applique starts with a template. All of my patterns include instructions on how to make a template from the printed templates in the pattern or you can purchase the acrylic templates as an add on to the pattern.
2. If you are using template plastic: Trace the template in the printed pattern on to the plastic using a permanent marker.

3. Carefully cut the template out of the plastic.

If you are using heavy card templates: Cut the template out of the printed pattern, then trace around it onto heavy card. Carefully cut the template out of the heavy card.
4. Trace the outline of the template on to the fusible interfacing. Cut 1/2″ away from the marked line on the interfacing.


5. Place the rough side of the interfacing to the right side of your fabric

6. Sew along the marked line on the interfacing. Use a short stitch length
(1 1/2 to 2 mm).

7. Trim away the excess fabric and interfacing, leaving a 1/8″ seam allowance.

8. Cut a small slit in the interfacing. Be extra careful not to cut the fabric, use tapered scissors. Gently pull the fabric through the slit, turning the entire piece right side out.

9. Use a turning tool to gently push out the points. Finger press the edges of the applique piece.

10. Following the interfacing manufacturer’s instructions, iron all the applique pieces into place.
11. Sew all the ironed pieces to the background fabric. Use your preferred stitching method: by hand or by machine (using a zig-zag or decorative stitch, for example), with invisible or decorative thread.
If you are using a machine, choose the option to have your needle down and use an open toe foot for greater visibility and remember its not a race, start slow and your pace will increase as you get more comfortable sewing around the appliqué pieces.


All of my applique patterns come with instructions on the Faux (interfacing) applique method, the raw edge applique method and the needle turn applique method. Acrylic templates for all of my patterns can be purchased in my shop or use the templates at the back of the pattern to make up your own.


If you are interested in trying one of my applique patterns using this method, you can find them all in the shop.
