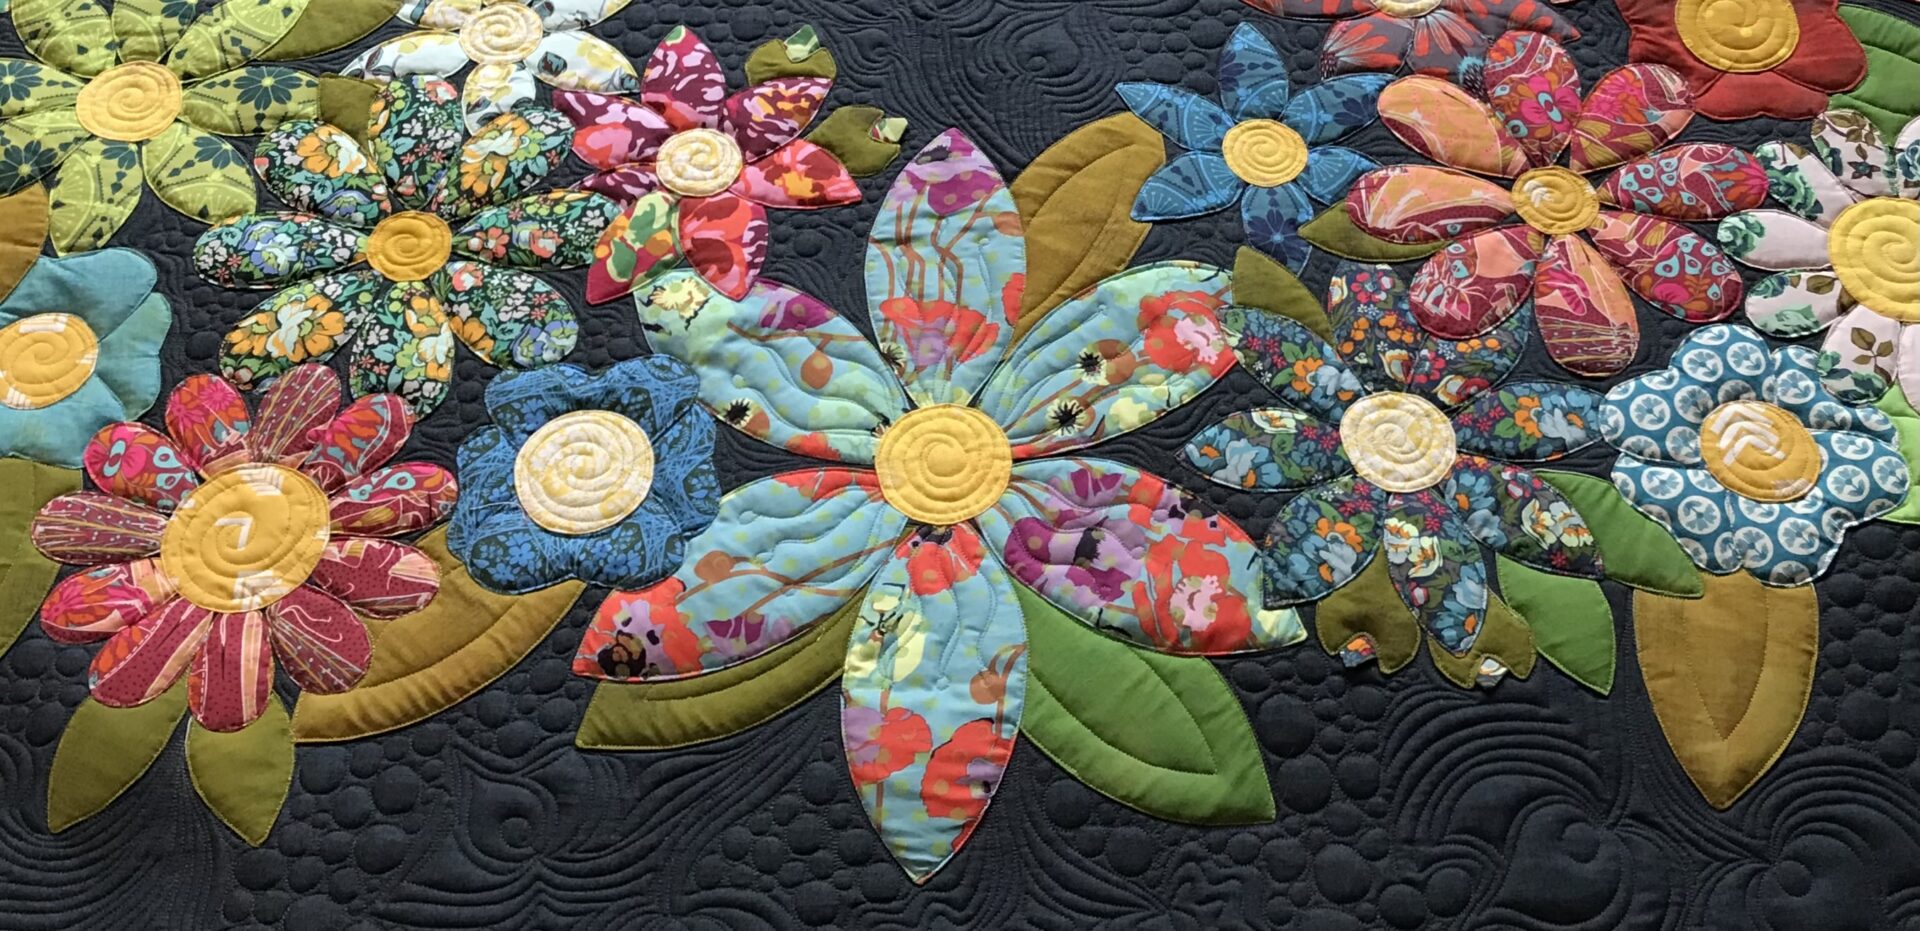
Modern Mandala
Page 6 of 14
Instruction number 4
Due to the centre dresden plates {both pointy and curved} finished sized being determined by the sewing machines 1/4 inch foot and stretch of fabric it is best too lay the dresden plate first onto the corner of the fabric quadrant allowing for a 1/4 inch seam. Then lay your ‘joining’ shapes to determine if the 7″ distance from the corner is correct or if it need to be 7 1/2 inches depending on the finished size of the dresden plate. Once you have determined the distance, so that your dresden plate does not overlap the joining pieces, remove the dresden and continue onto instruction 5.
Radiating Circles
Page 5 of 12
Instruction number 4
Due to the centre dresden plates {both pointy and curved} finished sized being determined by the sewing machines 1/4 inch foot and stretch of fabric it is best too lay the dresden plate first onto the corner of the fabric quadrant allowing for a 1/4 inch seam. Then lay your ‘joining’ shapes to determine if the 7″ distance from the corner is correct or if it need to be 7 1/2 inches depending on the finished size of the dresden plate. Once you have determined the distance, so that your dresden plate does not overlap the joining pieces, remove the dresden and continue onto instruction 5.
In-2-Stars Quilt
Page 1.
BACKGROUND FABRIC – CUTTING INSTRUCTIONS
Option 1.
Using Diagram 1 as your guide: –
Cut 4 x 23″squares, 8 x 9″ squares and 5 x 8″ squares.
Modern Blossom Quilt
On page 11, point 9 where the instructions say “Now piece Block 2, Diagram 8, by joining background Piece B with flower piece A2”. You should use Petal piece B not background piece B.
Shadow Blossom Quilt
On page 3 in the first run of printed patterns, instruction 7. is missing the second line. The instruction should read..
7. Dot a dab of fabric glue on the right side, at each end of the two pieces. With right sides of fabric together pin the two pieces together by the arcs. Two pins at each end and one pin in the middle at the middle crease.
Little Petals Quilt
Updated Fabric Requirements – The red section has been updated.
|
Baby Quilt = 9 Flower Blocks |
Lap Quilt = 25 Flower Blocks |
Double Quilt = 64 Flower Blocks |
Queen Quilt = 100 Flower Blocks |
|
|
Finished Quilt Size |
37½” x 37½” |
52½” x 52½” |
75″ x 75″ |
90″ x 90″ |
|
PLEASE NOTE: One Fat 16th = One flower – if using the interfacing method of appliqué or needle turn method. One Fat 16th = Two flowers – if using the raw edge method of appliqué. |
||||
|
Flowers – Interfacing method |
9 x Fat 16th |
25 x Fat 16th |
64 x Fat 16th or 32 x Fat 8th |
100 x Fat 16th or 50 x Fat 8th |
|
Flowers – Raw Edge method |
9 x 5″ x 9″ |
25 x 5″ x 9″ or 13 x Fat 16th |
64 x 5″ x 9″ or 32 x Fat 16th |
100 x 5″ x 9″ or 50 x Fat 16th |
|
Centre Circles |
9 x 3″ x 3″ |
25 x 3″ x 3″ |
64 x 3″ x 3″ |
100 x 3″ x 3″ |
|
Background |
1½ yards |
2½ yards |
5 yards |
6¾ yards |
|
If you would like to make the quilt top completely from Fat 8ths for the flowers, centre circles and background fabric see the requirements below. (These fabric requirements are for the interfacing method, they will be a generous amount for the raw edge appliqué method.) |
||||
|
Flowers + Centre Circles + Background |
9 x Fat 8ths |
25 x Fat 8ths |
64 x Fat 8ths or 32 x Fat |
100 x Fat 8ths or 50 Fat Quarters or 25 Half Yards |
|
Backing |
2½ yards |
3½ yards |
7 yards |
8¼ yards |
|
Batting |
45″ x 45″ |
61″ x 61″ |
83″ x 83″ |
98″ x 98″ |
|
Binding |
⅜ yard 4 x 2½” x WOF binding stripes |
½ yard 6 x 2½” x WOF binding stripes |
¾ yard 8 x 2½” x WOF binding strips |
⅞ yard 10 x 2½” x WOF binding strips |
|
Fat 16th = 9″ x 10″, Fat 8th = 9″ x 20″, Fat Quarter = 18″ x 20″ & WOF = 40″ |
||||
|
Additional items: Template plastic, fine marker or mechanical pencil, sharp scissors for applique, light to medium non woven interfacing if choosing the interfacing method of applique or fusible web if choosing raw edge applique. |
||||
